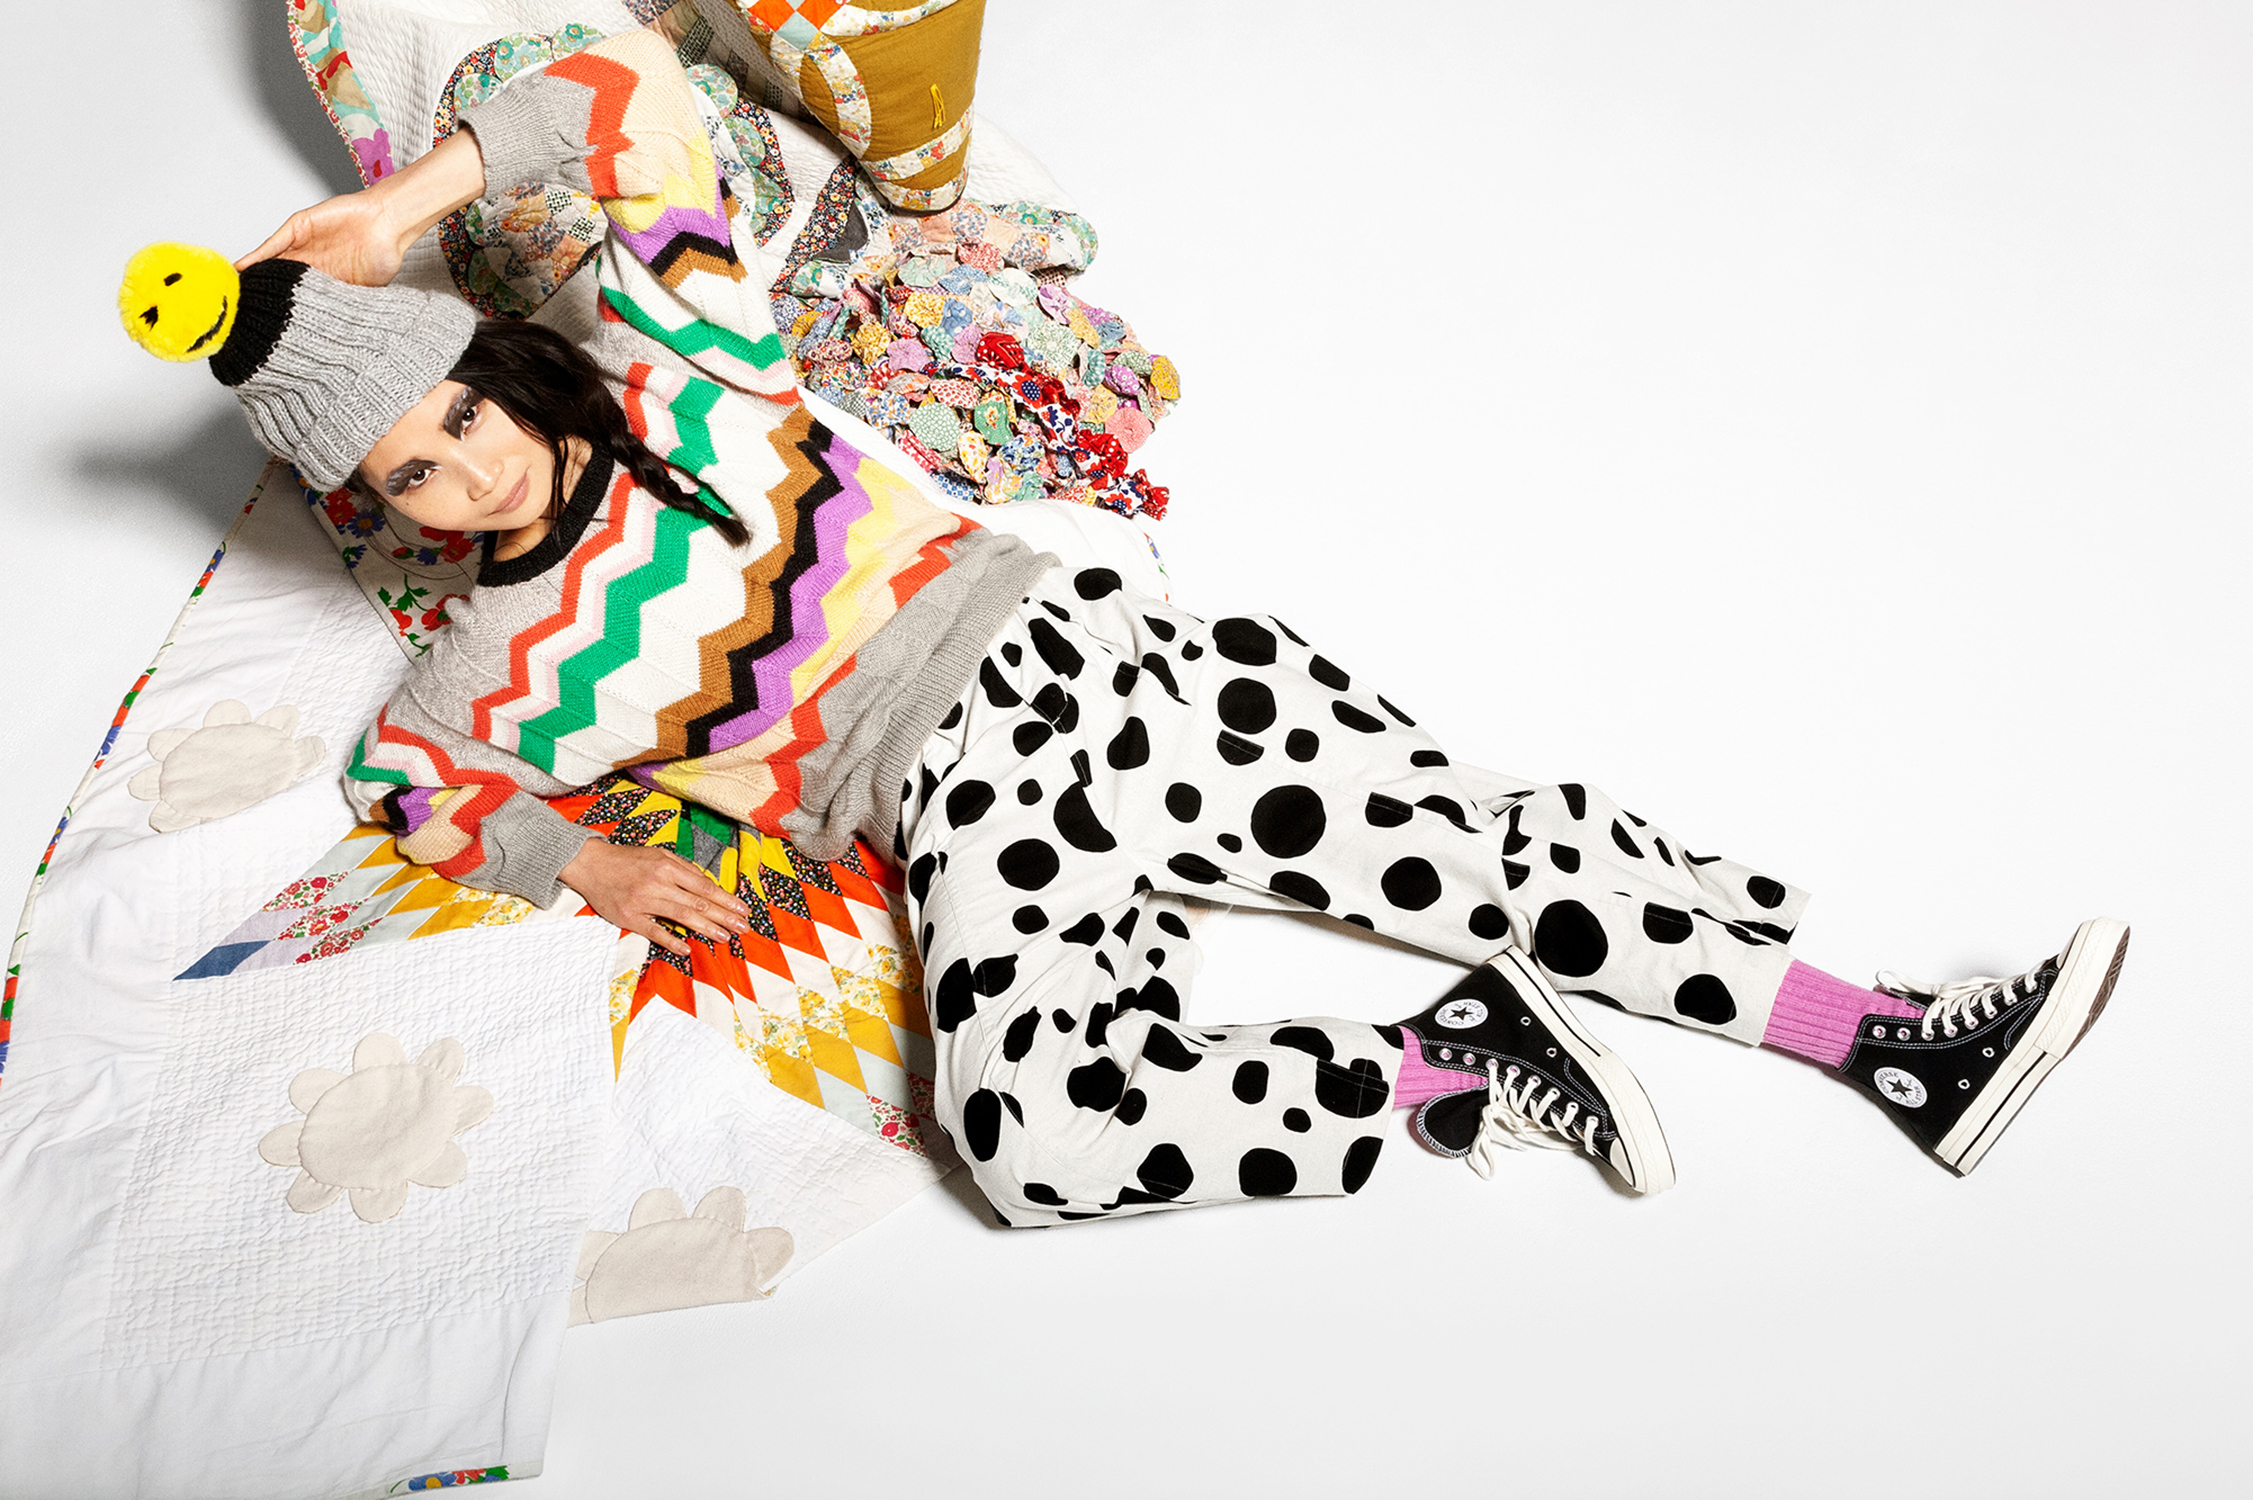
ARTHUR PANTS
When you are on the fringes of the hand sewing and the making-garments-by-hand sewists communities you may notice trends in IT patterns. For knitting there was Fades, then Brioche, Shawls and Mystery Knit Alongs. While I am newer to the sewist community, I have also noticed some pattern trends. Everyone wants to make the best pants and it was a common response to new skills to learn for sewists in 2021. I did hop on the Lander Pant // Persephone train with everyone else 2 years ago but I felt that the pattern needed a ton of alteration to fit me right and for me to want to wear that pant for more than a 15 second photo opp. I know other people love the Bob Pant, but I AM HERE FOR THE ARTHUR PANT. I did make some alterations but only want to wear versions of this pant every day of my life.

First off, I love this pattern because it calls for flat felling all seams which is great when you do not have a serger. I always dislike the look of a zig zag finished edge so I will do anything necessary to Hong Kong, Flat Fell, or French the seams of anything I make.
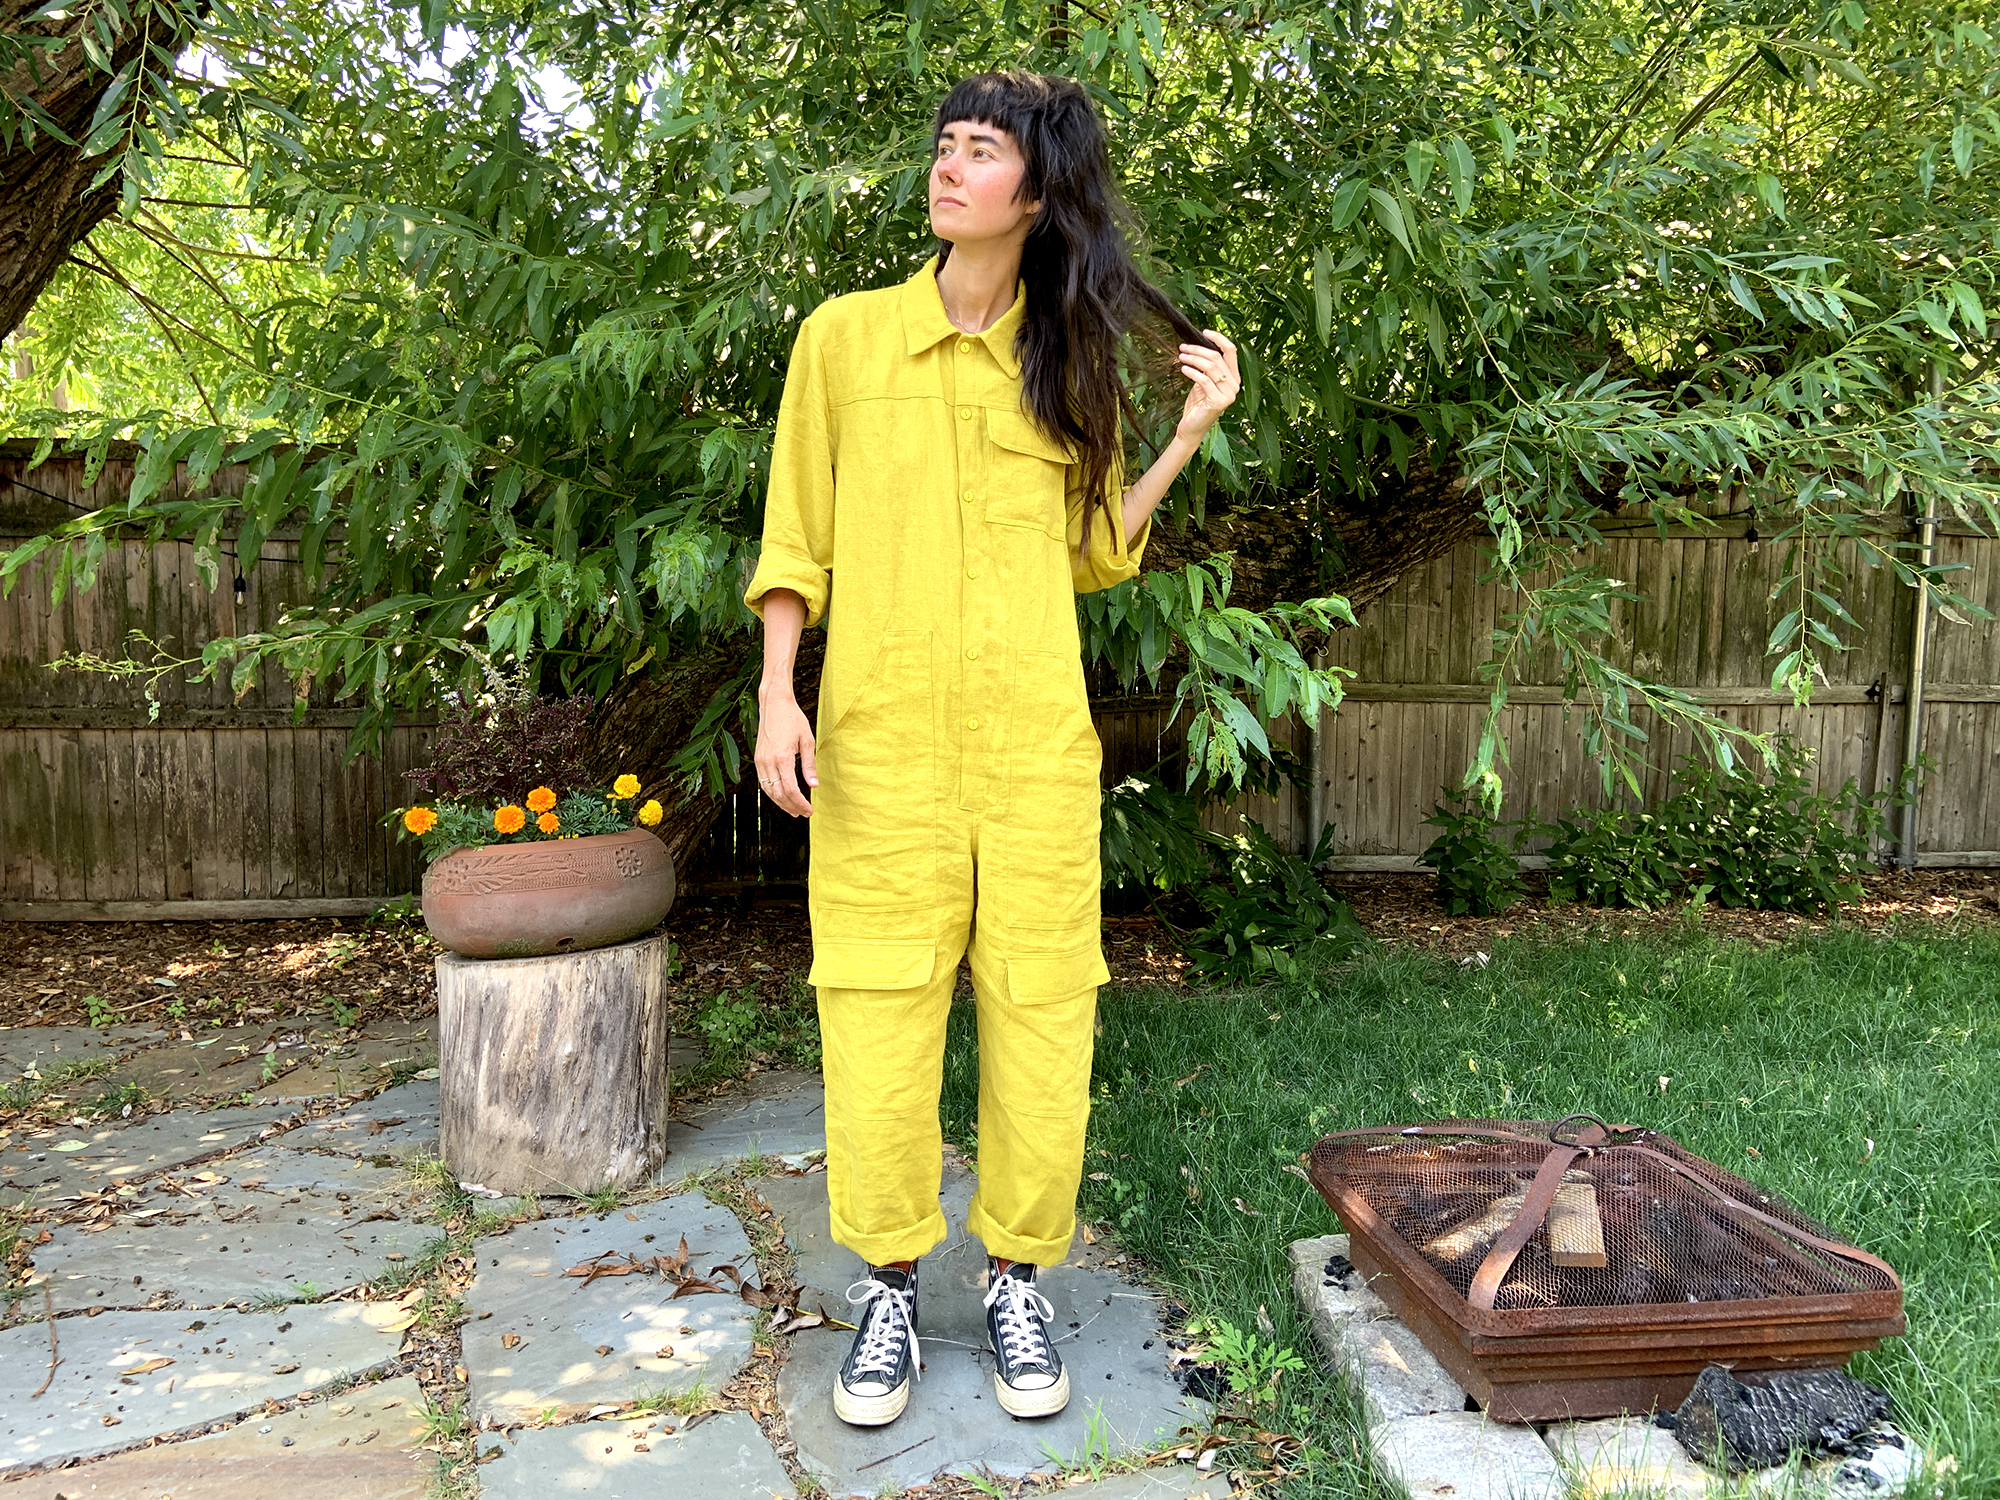
Version 1: DOTS
Fabric: The fabric above is called Cosmo Cotton / Linen Sheeting – Uneven Spots which I got from Stonemountain and Daughters Im not sure the weight but I was initially thinking it would be too light. I’m going to guess it was 5oz-ish? I would have thought that this pattern would be more suitable for something 6.5-8oz since its such a shape.
Size: My measurements are: 24″ Waist, 38″ Low Hip, and I am 5’10” I decided to cut//trace off the size 2 for more volume even though its for a 26″ W because I figured the elasticated back would be a bit forgiving. I ended up cutting the elastic shorter than called for in the size 2.

Alterations: On this version the main adjustment I made was at the waistband, I am not a fan of the original center front tab that the orginal design suggests. To make this change I just cut the piece that has the curved tab into a rectangle. Then when the pattern calls to apply the waistband I lined up side seams and let the extra hang off the center front. The next step is to sew the vertical part of the waistband at CF so I sewed in line with the fly parts and trimmed the excess approx. 2″
Reflections: I wish these were about 2″ longer…..see version 2.

Version 1: PLAID
Fabric: Japanese Cotton Twill Yarn Dye Plaid from B+ J Fabrics . This is the most expensive fabric I have ever bought at about $26/yard but I am so glad I went for it because this is the best. It reminds me of punk bondage pants but I veered off and went for the opposite balloon pant. This fabric is only a little bit heavier than the first version at 6oz but is a much denser weave so it holds form better. Oddly though, this stiffer fabric is a little less good for this shape. I think the way this pant drapes holds the shape without the fabric needing to be rigid. Its still great for this pattern but you can definitely get away with lighter fabrics than expected.
Alterations: For this second pair I wanted to lengthen the pattern to hit just above my true ankle so I lengthened the pieces by 2.” I again, sniped the tab out of the pattern as its just not my cuppa T.

This is the first time I ever attempted to match plaid. I was precise about the horizontal lines matching up but did not necessarily want to go for a seamless look….otherwise I would have removed the forward and backward seams. I like how the way that I matched the plaid does break up the pattern but it requires looking. I did not match the plaid on the pockets because it would have required cutting into a pristine part of the fabric thereby wasting a lot of fabric. I just cut them where they fit and kept it moving.
Reflections: I wish I added maybe 1/2″ more still to the length.
UP NEXT: luckily I still have enough of this plaid fabric to make a lil jacket. So that’s my next garment sewing project


