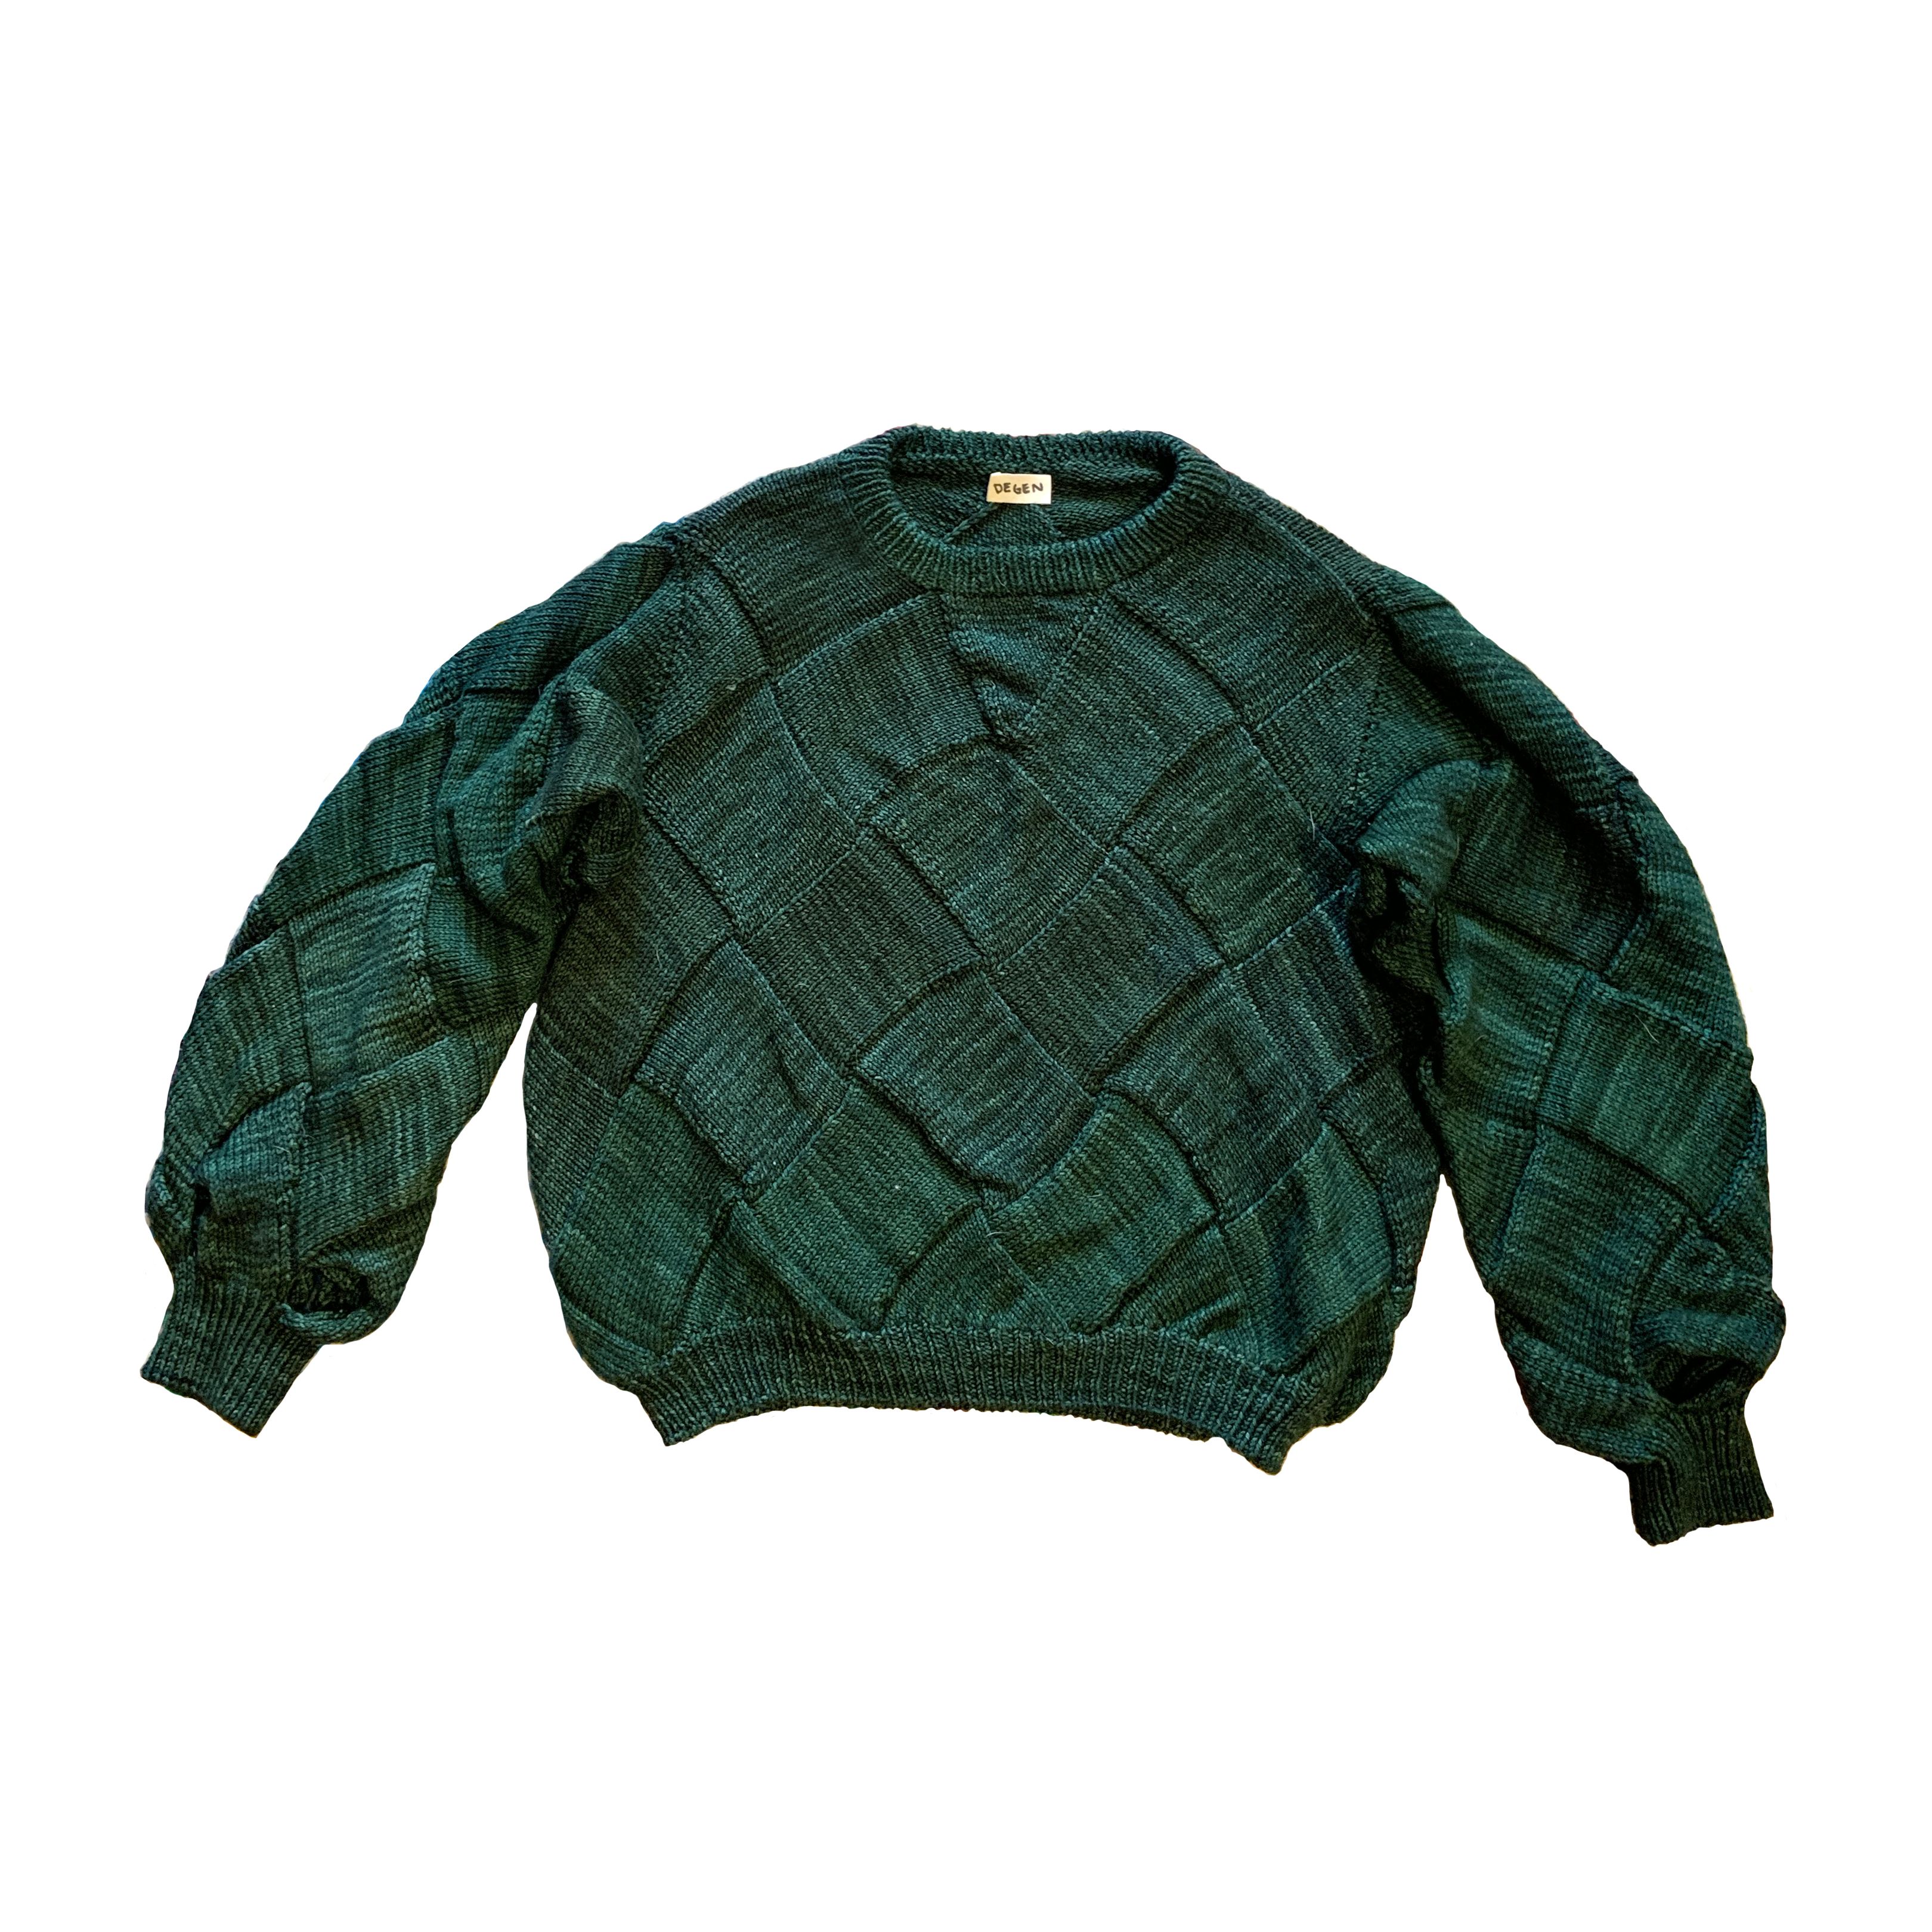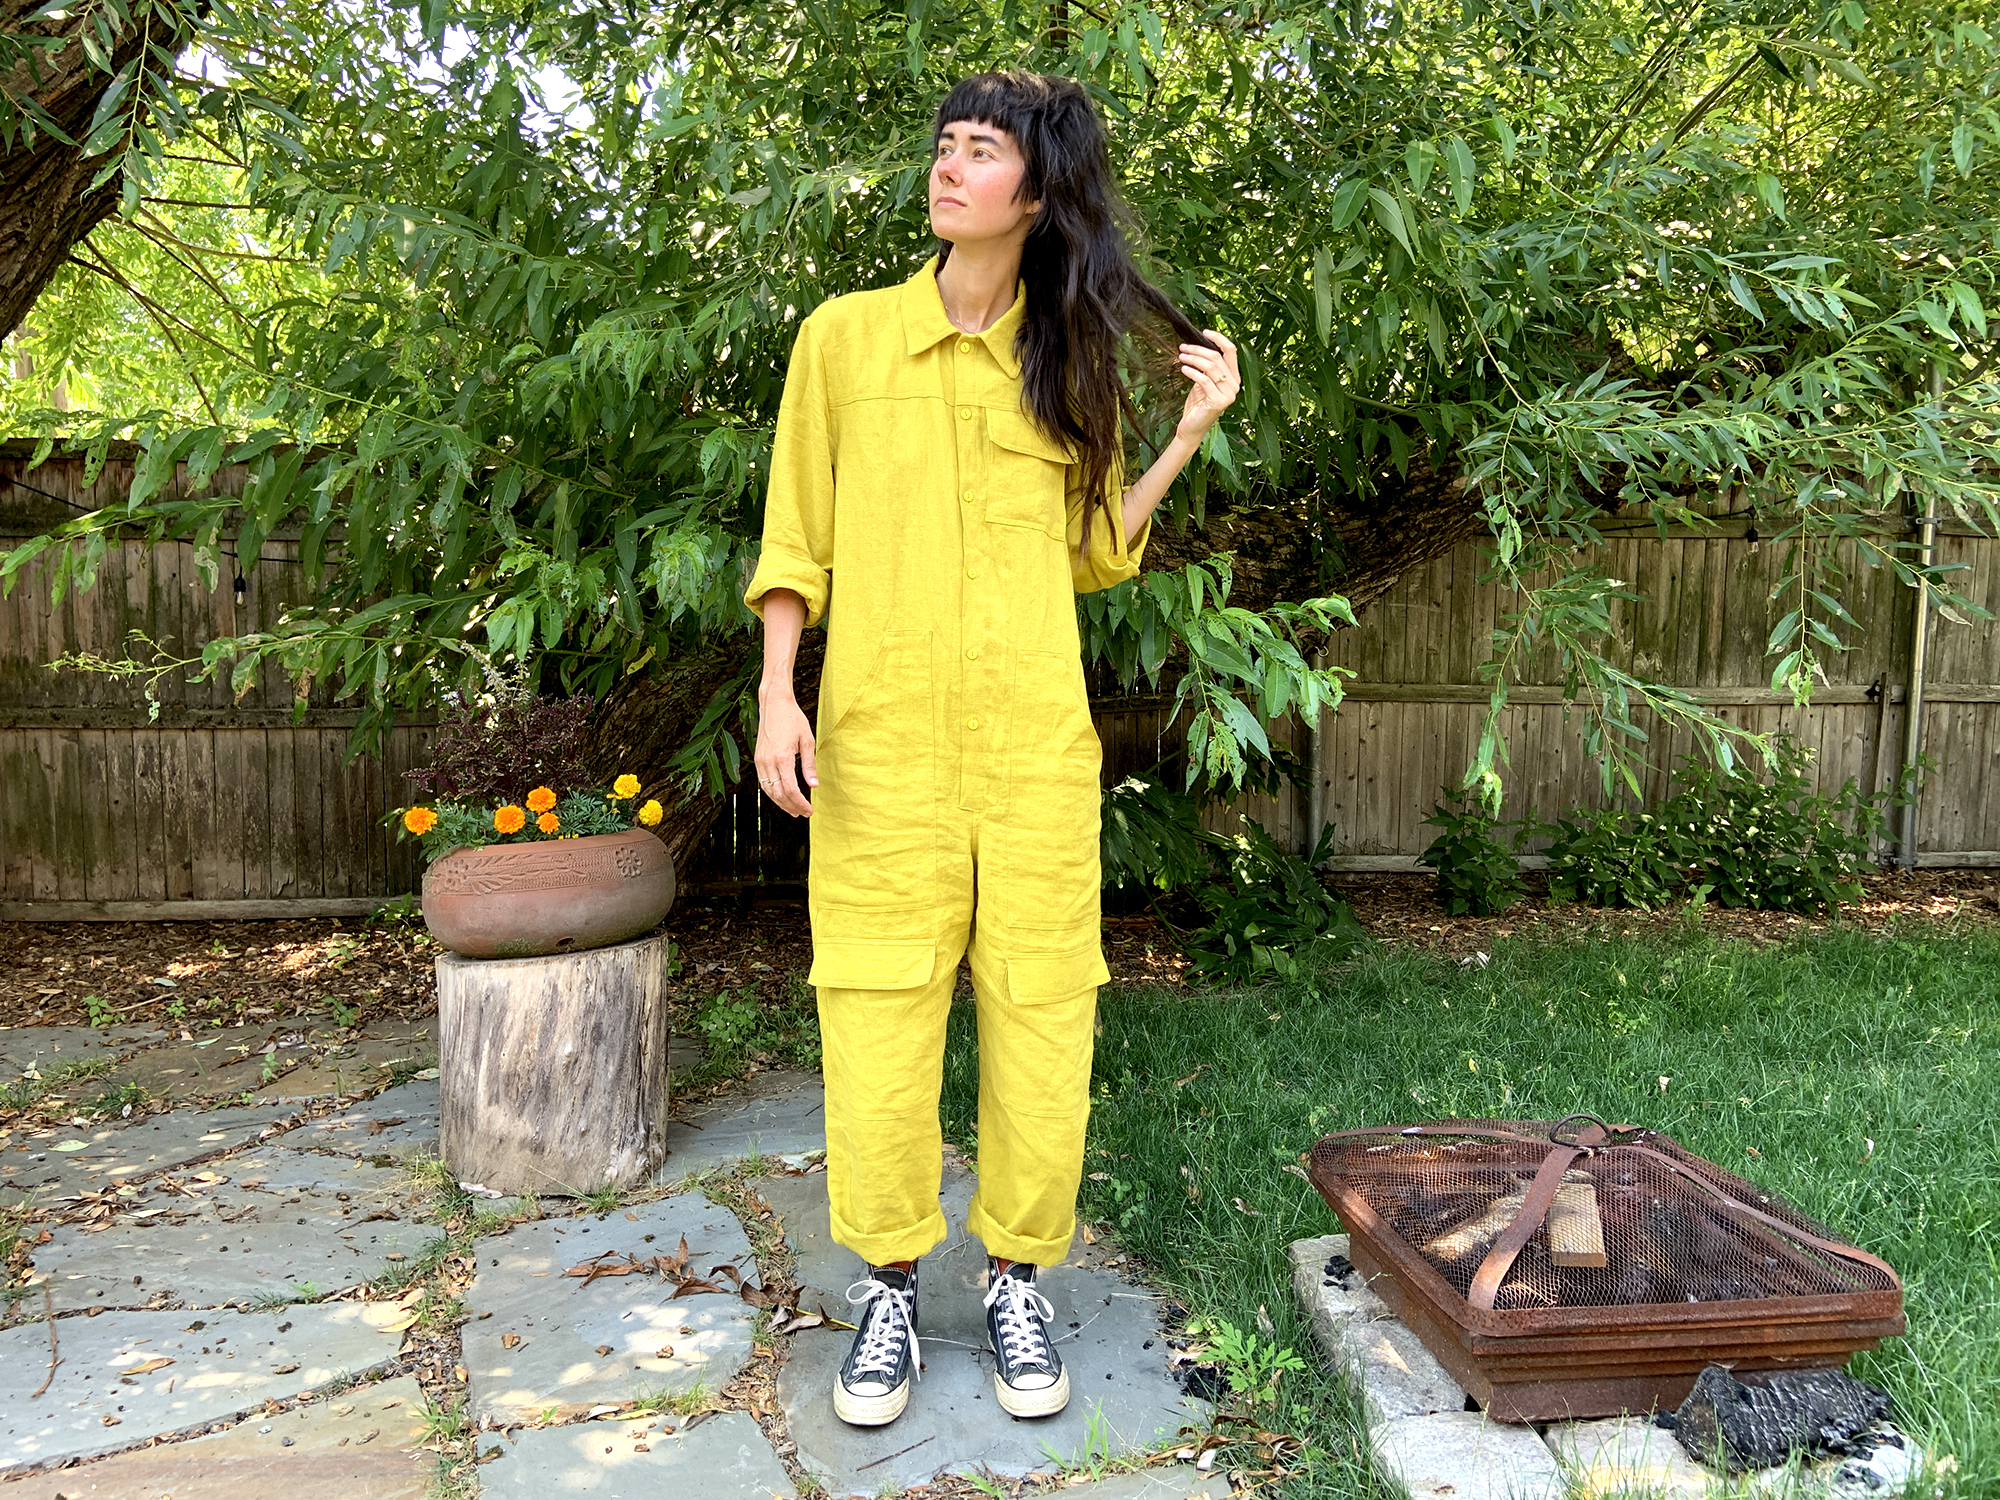
SEPTEMBER JACKET
Since my Arthur Pants post I made another pair in a deadstock Japanese 6oz (lightweight) denim that I found at Blackbird Fabrics and I might even have one more pair planned (I’ll let you know when I get the fabric). All of these high waisted pants inspired me to knit a sweater that could be worn with them. Most DEGEN sweaters have a sort of vintage sweatshirt fit. They are not cropped to show off the waist of high-waisted pants. Previously anything called “high-waisted” was not high waisted on me. I’m tall. So with that in mind I wanted to make a little boxy sweater to go with all of these Arthurs.
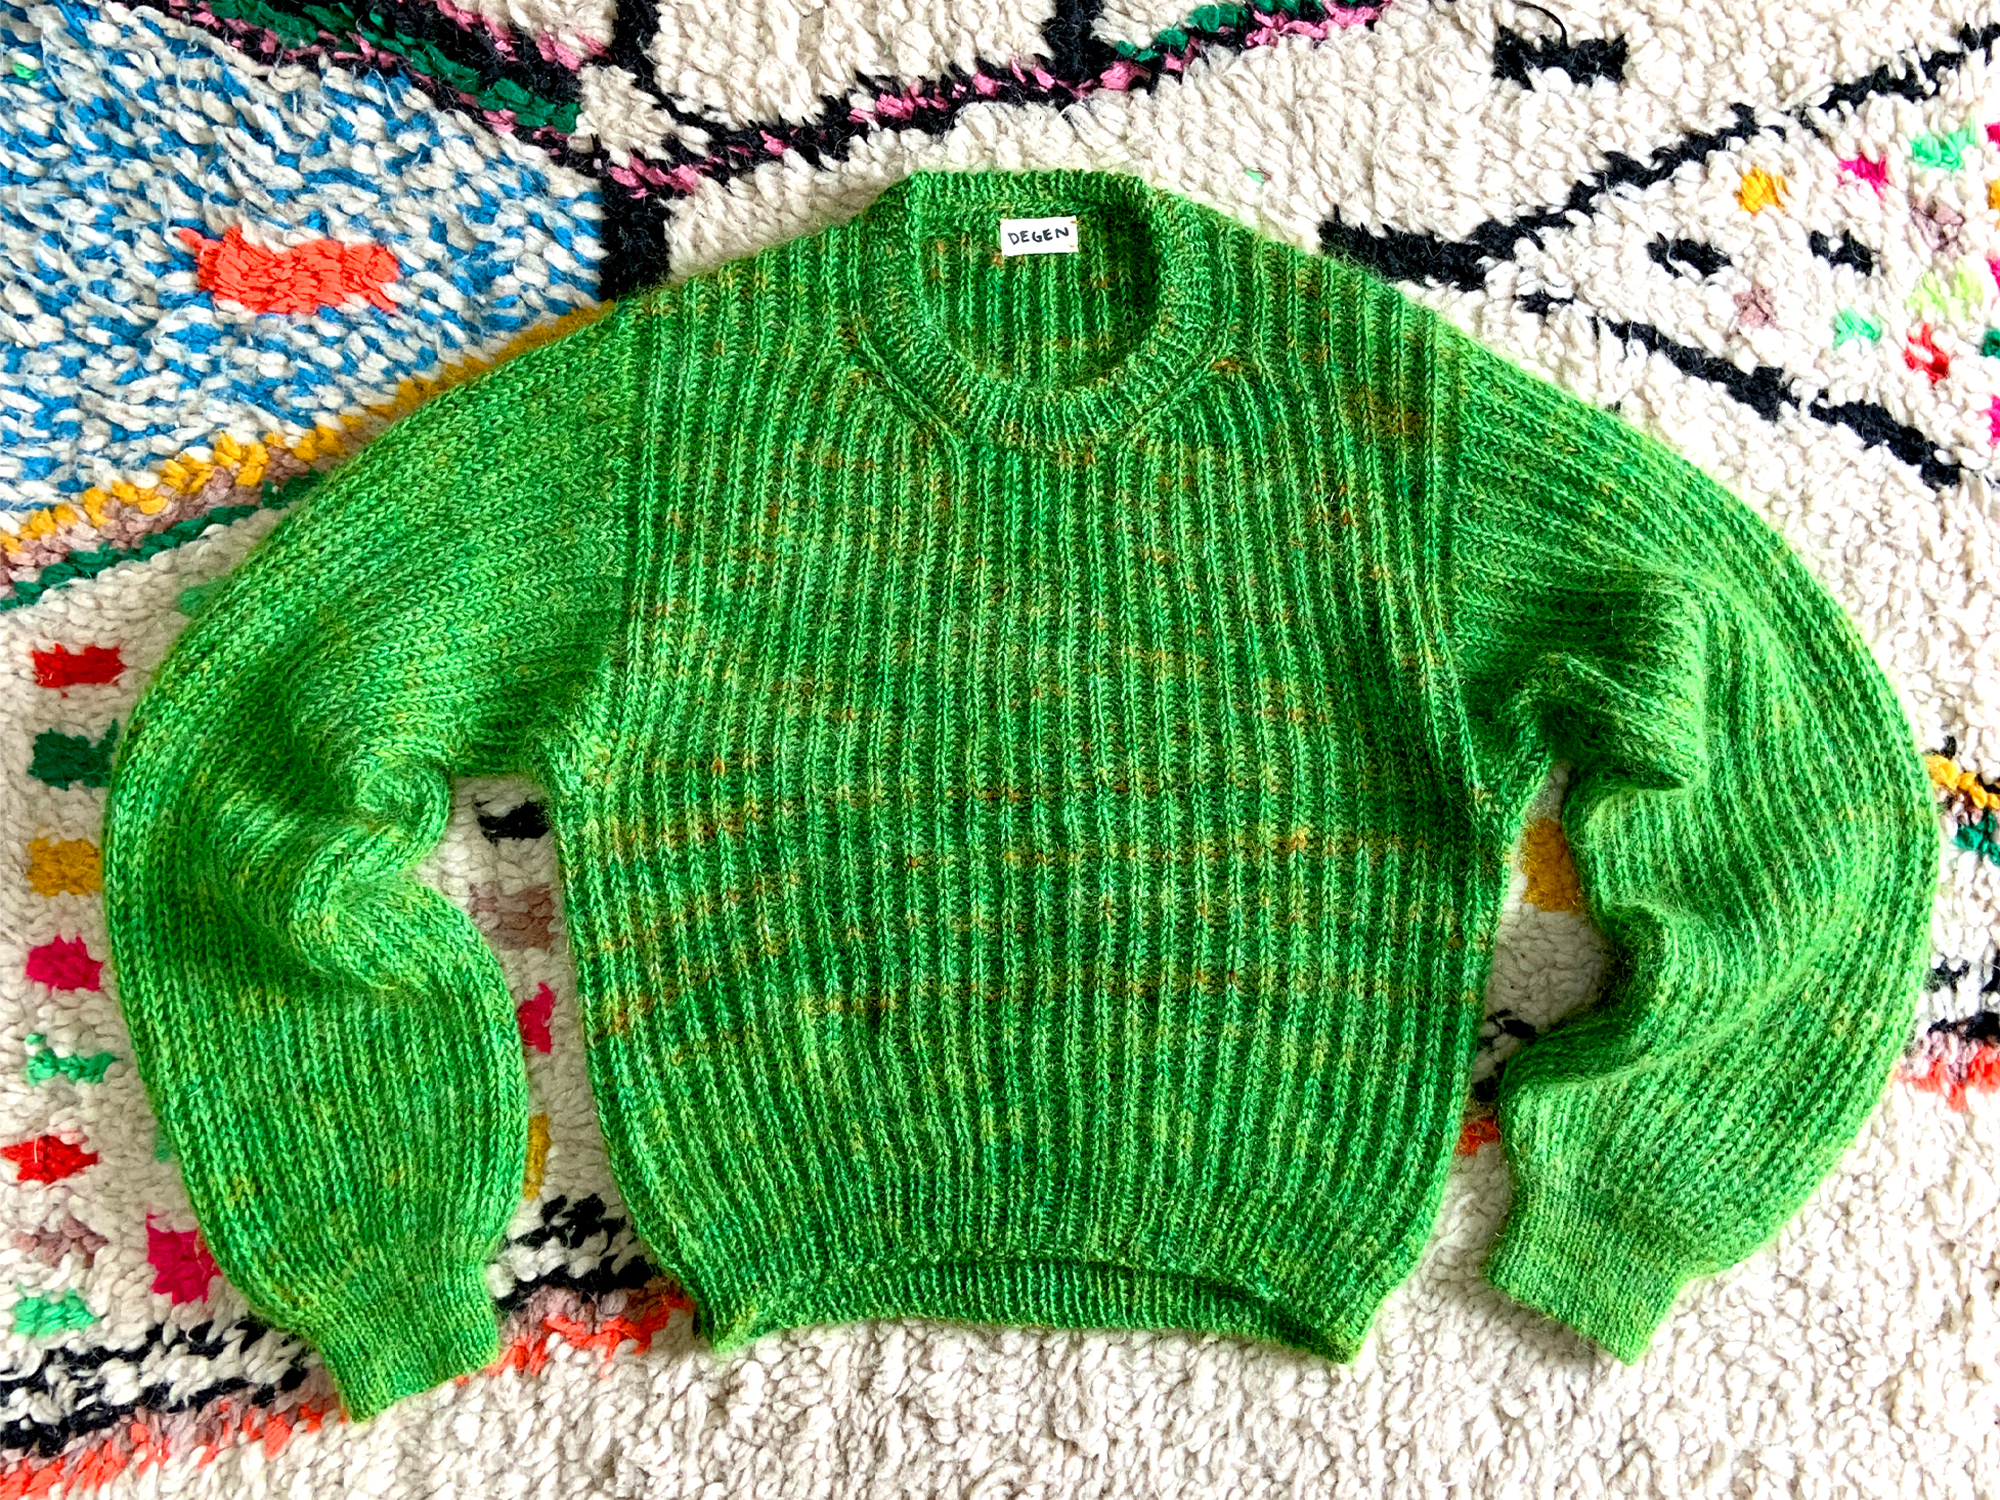
This post will be sort of a review of the pattern I used plus my mods : The September Jacket by Petite Knit. I cannot stay on pattern with another brand’s knits ever. That is a little risky in this pattern, which is all over brioche, because the brioche can change a lot after blocking.

Review:
First for the review- This is a top down sweater and other than the brioche (if you are new to it) the pattern is basic in a good way. It’s made of simple shapes. There is only shaping in the beginning of the pattern when you fashion the shoulders and neckline, and then a little in the sleeve.
I do not agree with the fit in the pattern, however. I did use the same yarn as is called for in the pattern (1 end Sunday by Sandnes Garn + 2 ends of Tynn Silk Mohair by Sandnes Garn) and I did knit a gauge swatch.
Side note on the yarns- I bought them from Cece’s Wool in Albany, NY and when I ordered the kind people at the shop thought maybe the color combo I was hoping for was off and then texted me some options. I could have been in for a terrible combo. Thank you kind people at Cece’s Wool!
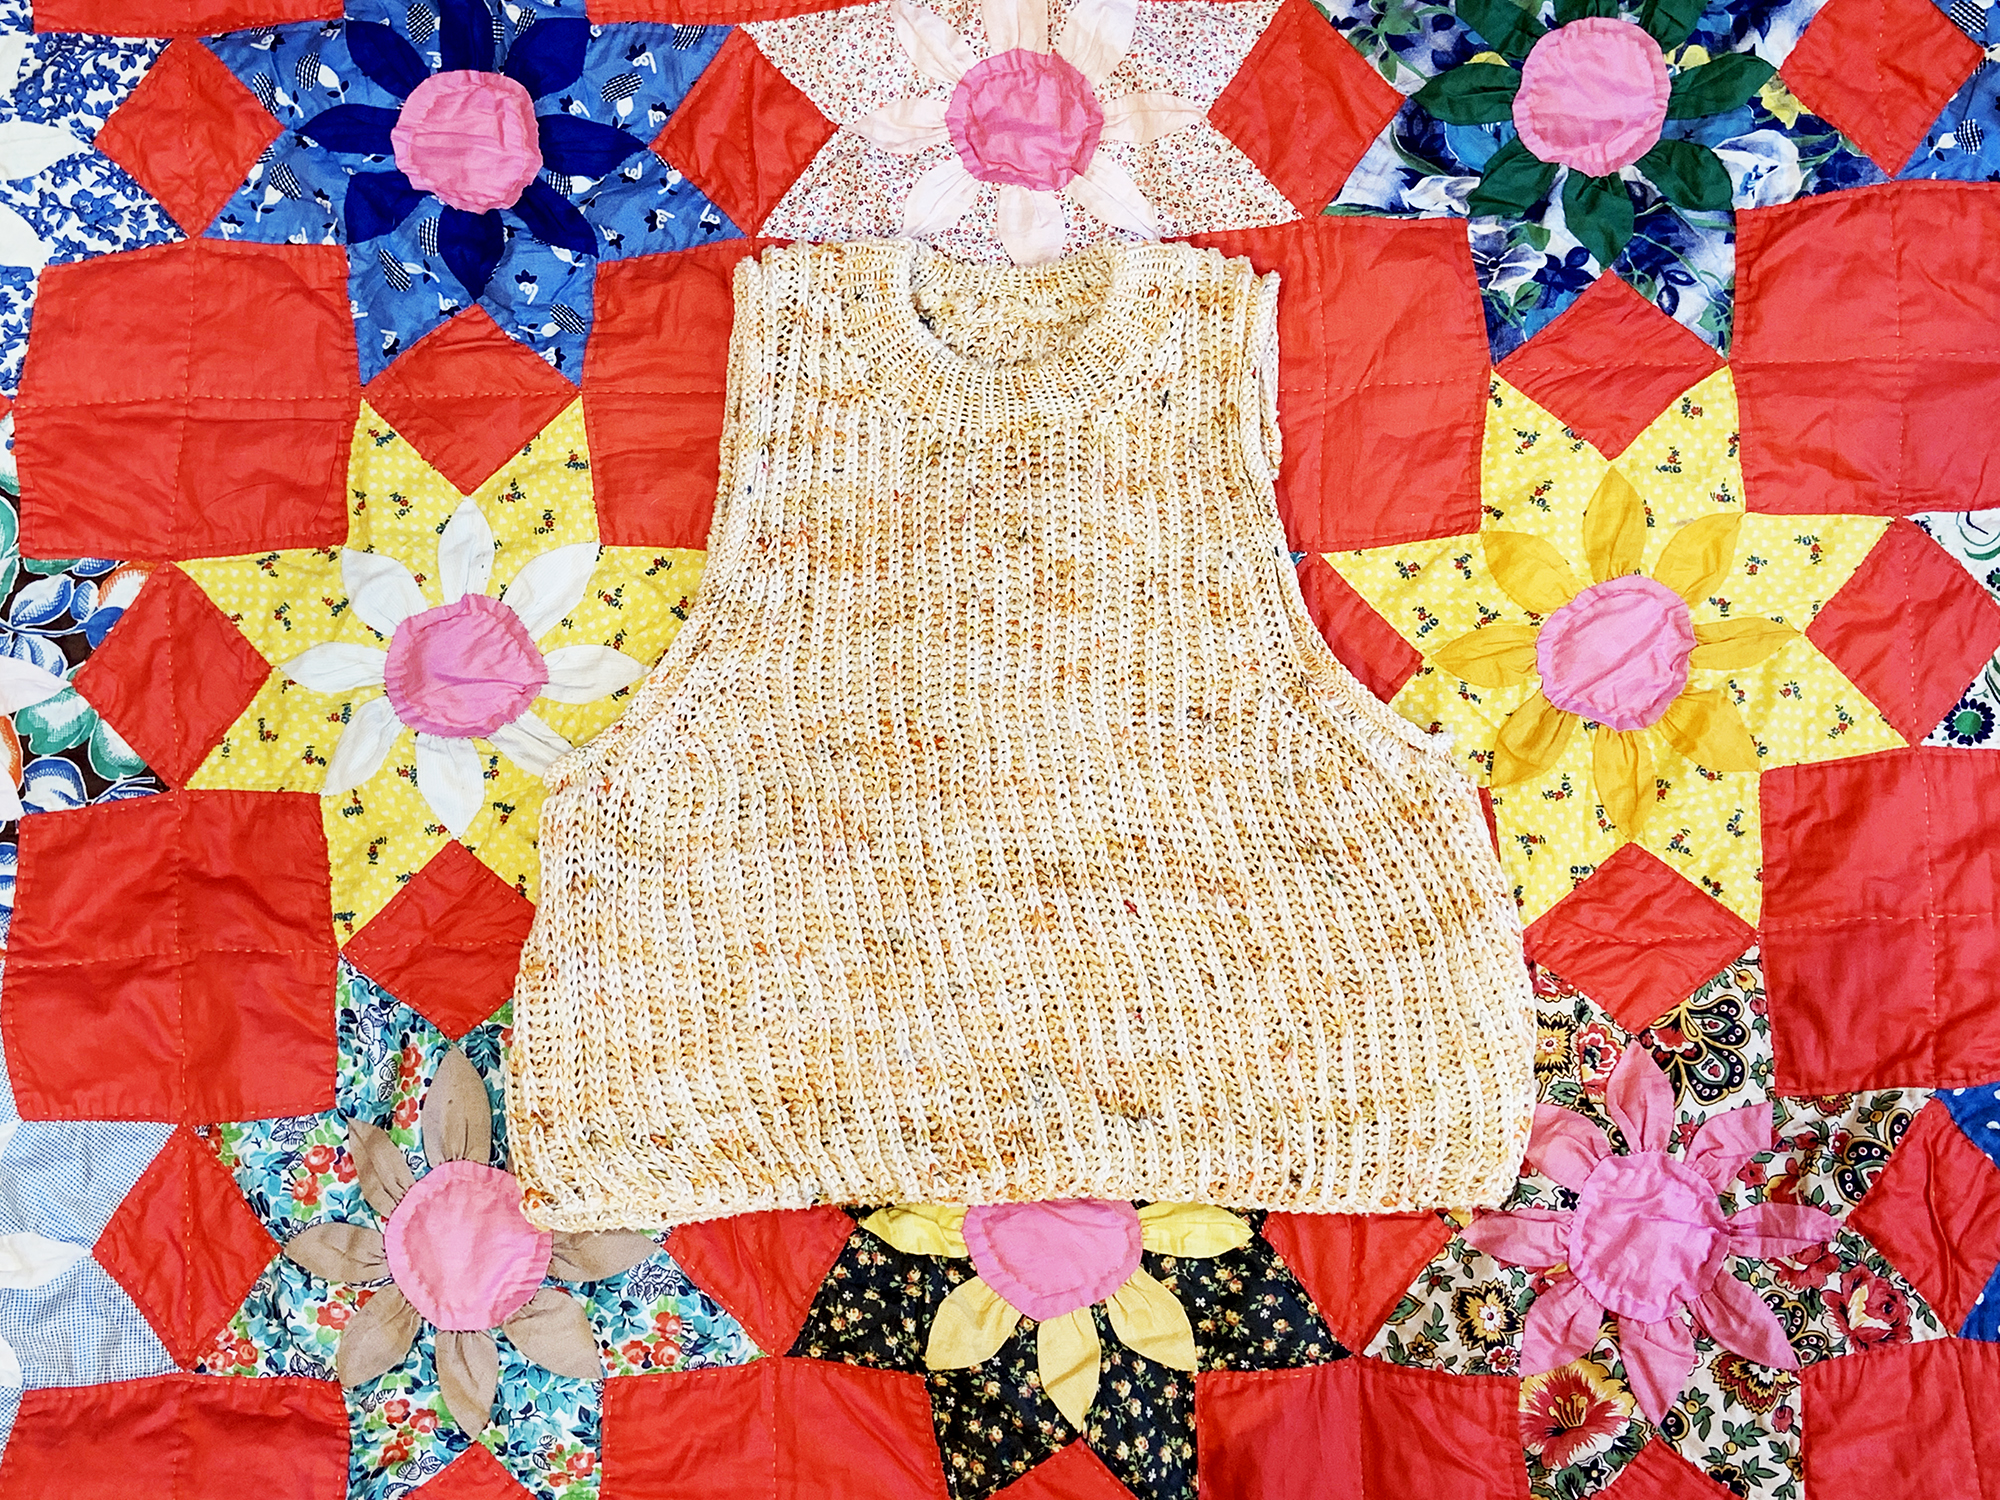
I knit a size medium and I would not consider this a medium. I have a tiny tiny torso and the body is quite narrow for a pattern claiming to have about 3″ of positive ease.

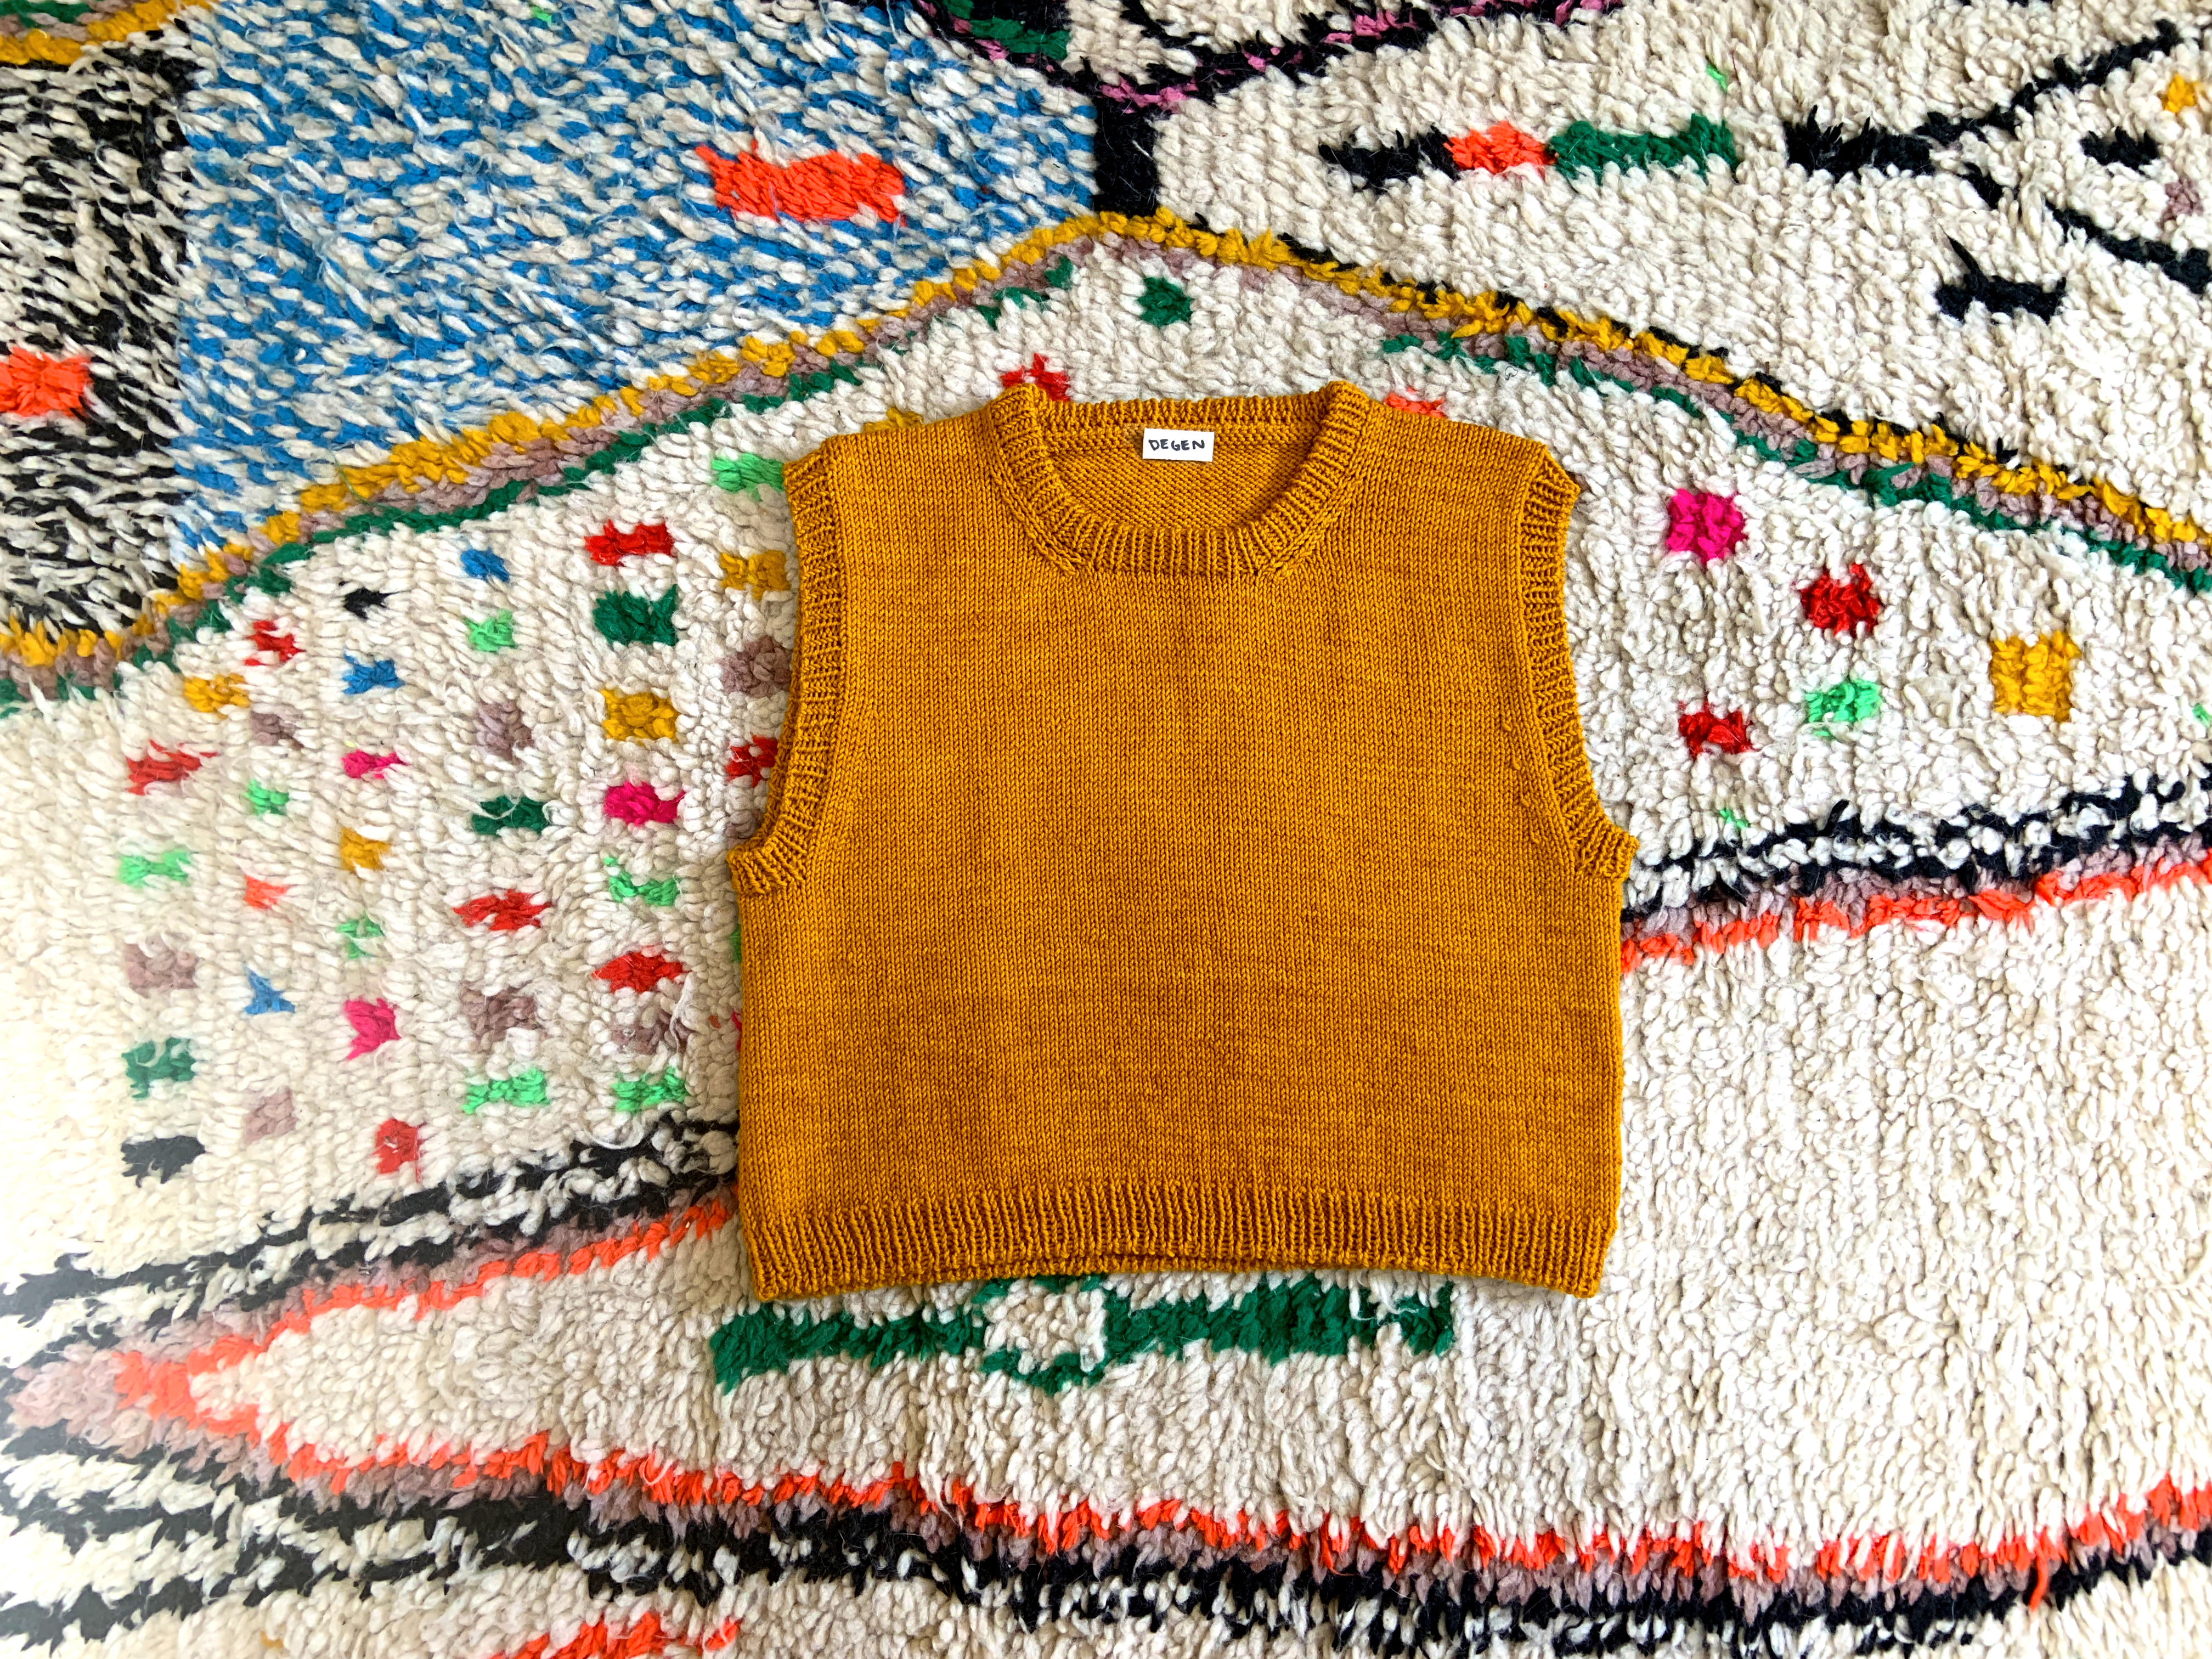
I could have done some additional extreme blocking to get there but I think that the sizes should be shifted and additional sizes added. My second criticism is that the sleeves look great on the model on the site but if you look through all of the Ravelry projects of this pattern, the sleeves look weird and narrow. ). As I went to pick up stitches around the armhole it felt like far too few stitches and it makes sense that all of the Ravelry projects look so narrow based on the number of stitches the pattern called for picking up. Because I was already skeptical of the sizing (when you knit the sleeves you have already completed the body). See tiny vest photo above. All that to say- I just did a completely different sleeve all together because I was not feeling it. Id give this pattern a 8/10 but only if you feel good about going rogue.

Mods:
I knit the body shorter than is called for in the pattern. The medium body of the pattern calls for 19.75″ from back neck to the top of the rib. I was making this sweater specifically to fit me well with the Arthur pants so mine is about 17″ measured the same way.
As mentioned in the review I also made a completely different sleeve and Im going to write it below.
Last mod was that I used only 2 snaps at the top since the sweater is small and wants to peel back at the lower edge.

DEGEN sleeve for size Medium:
Pick up 68 stitches around the armhole opening starting at underarm. (this is a full 10 sts more than the pattern calls for and is also 4 more stitches than the largest size of the pattern calls for).
Knit 2.75″ and do a decrease row as outlined in the pattern
Knit 2.75″ and do another decrease row as outlined in the pattern
At this point the pattern continues decreasing but I did not do any more. Continue knitting until the sleeve is 17.75″ and start the final 1×1 rib. The pattern calls for using the same size needles (US7) but switching to DPNS. Because I did not decrease much in the sleeve and wanted a skinny arm opening, I did the 1×1 rib on US2 needles which draws in the sleeve nicely.

Reflections: In general I really enjoyed knitting this sweater which was a little surprising because I think this might be my first single color sweater. I did learn one skill that I LOVE during this project which was the Sewn 1×1 Bind Off aka the Italian Bind Off. Purl Soho has the perfect video to learn this bind off. It makes what looks like a tubular cast on -on a knitting machine. It’s beautiful for this purpose.
Lastly- come be friends with me on Ravelry @DEGENus for more info on yarns and colors.